OVERVIEW
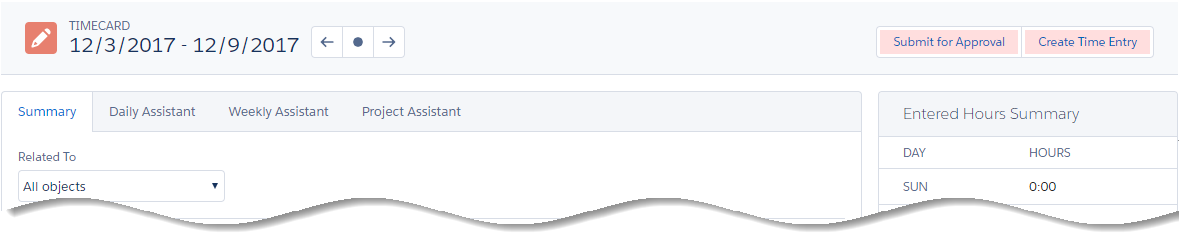
Though the Timecard can be used effectively without additional configuration, there are options available to customize what and how users interact with it. Buttons for Create Time Entry and Submit For Approval are available to be added to the Timecard page using Custom Settings that are part the Professional Package.
CUSTOM SETTINGS
1. Click Setup → Custom Settings → Configuration Options → Manage
2. First time editing Custom Settings: Click New → Save → Edit → [Make Changes] → Save
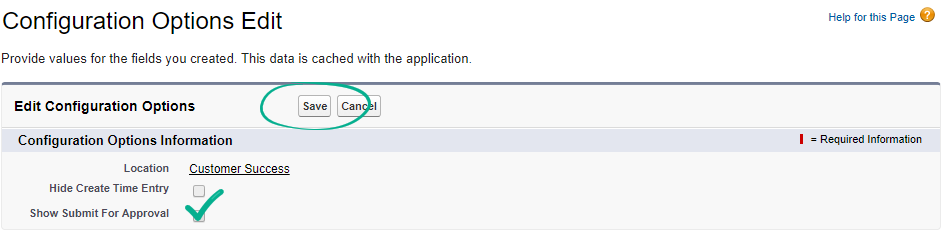
Create Time Entry: to display this button, uncheck the “Hide Create Time Entry” (FALSE)
Submit for Approval: to display this button, check the “Show Submit For Approval” (TRUE)
Click Save
3. Upon return after initially edited: Click Edit → [Make Changes] → Save
**PLEASE NOTE: If “Show Submit for Approval” has been checked (TRUE) and is not displaying on the Timecard, the required approval process has not been created/activated. For more information on that process, see xxx
Leave A Comment?