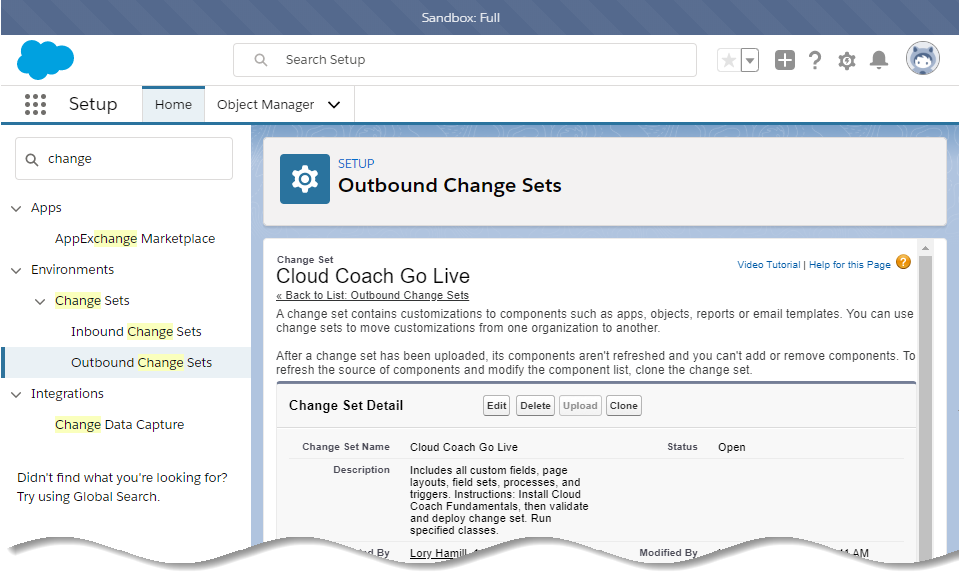
Installing Cloud Coach can be as simple as clicking “Install Now” from the AppExchange, but the recommended path to success with Cloud Coach Fundamentals (or any app) is to install in a sandbox, customize the configuration, and complete testing before promoting to production and going “live” with the tool. Instead of manually recreating the configuration (custom fields, processes, flows, approval processes, etc.) the best practice is to create a change set that can promote all of the changes at once for validation and deployment. Here are some tips for using change sets as a method for this type of development:
- Document configuration as you go – documentation is always a best practice, but this will help ensure that errors are minimized.
- Use the dependent fields button – this shows all of the fields and objects relating to each other, making it easier to ensure you haven’t missed anything.
- Be methodical – go through each component area ( at least once.
- Install the Cloud Coach package(s) first – the change set will fail if the Cloud Coach packages are not installed.
- Be security minded – remember to include any custom profiles or permission sets.
- Remember Alerts – if alerts are set up, make sure that the relevant users are in the new org.
- Validate, validate, validate – Validate the change set before you deploy it, this will not only save you time in the long run, but could help you avoid you damaging any existing fields in the new org.
- Know the limits – there is a limit of 10,000 files for change sets. If there is a risk of going over this plan ahead and split the migration into multiple change sets.
- Clone to make adjustments – once uploaded, a change set is no longer editable. If, for some reason, the change set fails, simply clone the previous change set and add the additional components.
Leave A Comment?